🚀 Getting Started
Your First Android Project
Creating Hello World, project structure, running on an emulator.
Creating the Project
- Open Visual Studio 2026. Click Create a new project.
- Search for .NET MAUI App and select it. Click Next.
- Name the project
HelloAndroid, pick a folder, click Create. - VS generates the full project skeleton automatically.
Project Structure
text
HelloAndroid/
├── Platforms/
│   ├── Android/
│   │   ├── MainActivity.cs       # Android entry point
│   │   └── AndroidManifest.xml   # Permissions & metadata
│   ├── iOS/ and Windows/
├── Resources/
│   ├── AppIcon/                  # All icon sizes
│   └── Images/
├── App.xaml                      # App-wide resources
├── AppShell.xaml                 # Navigation structure
├── MainPage.xaml                 # Your first UI page
└── MainPage.xaml.cs              # Code-behind
Your First UI
xml
<ContentPage>
  <VerticalStackLayout Spacing="24" Padding="32" VerticalOptions="Center">
    <Label Text="Hello, Android! 👋" FontSize="32" FontAttributes="Bold"
           HorizontalOptions="Center" />
    <Button Text="Tap me!" Clicked="OnButtonClicked"
            HorizontalOptions="Center" />
  </VerticalStackLayout>
</ContentPage>
csharp
public partial class MainPage : ContentPage
{
    int count = 0;
    public MainPage() => InitializeComponent();
    void OnButtonClicked(object s, EventArgs e) =>
        ((Button)s).Text = $"Tapped {++count} time{(count==1?"":"s")}!";
}
💡
Press F5 to deploy to the emulator. XAML Hot Reload lets you edit the UI while the app is running — no restart needed. The output is shown below:
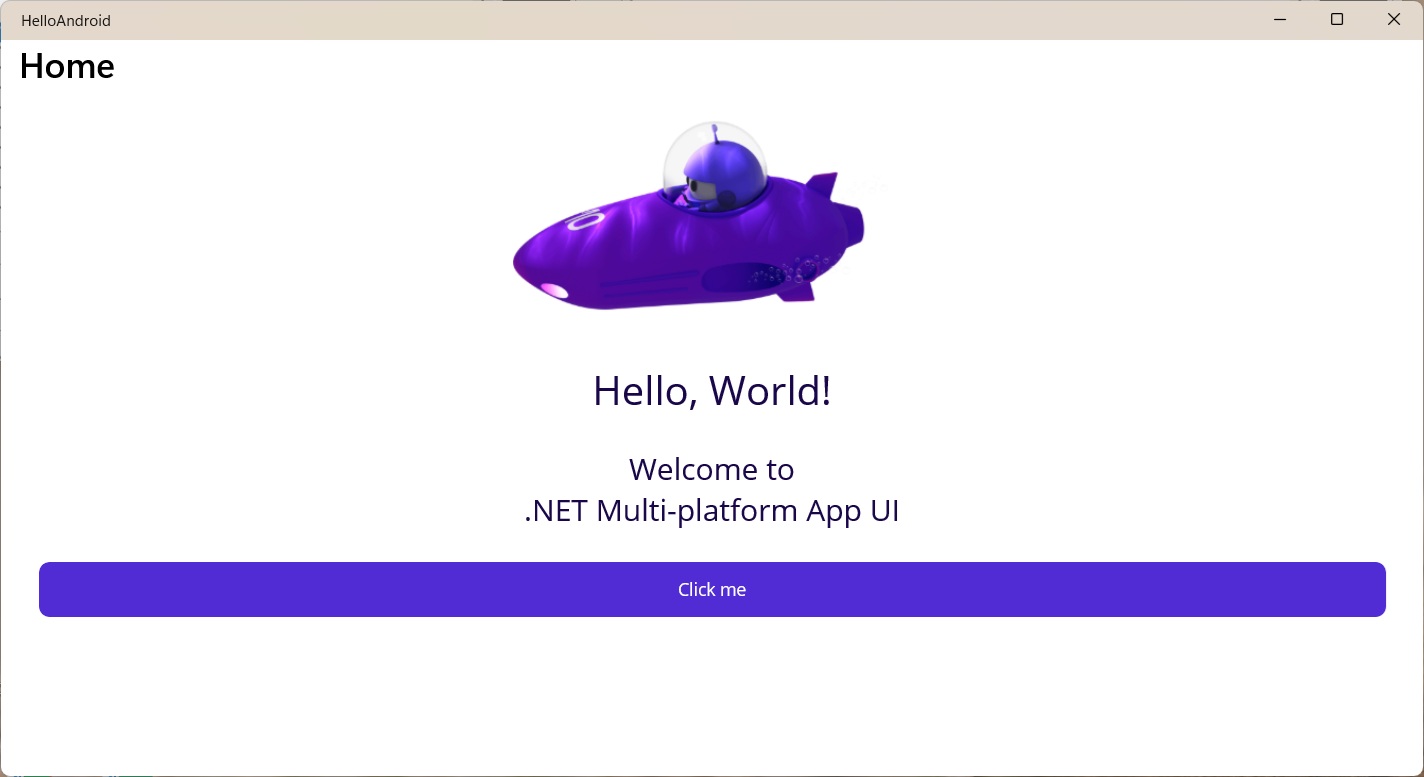
Figure: Running the first Android UI on the emulator.
Key Takeaways
.NET MAUI shares code across Android, iOS, Windows, macOS
XAML defines UI; code-behind handles event logic
Platforms/Android/ contains AndroidManifest.xml and MainActivity.cs
Press F5 to run; hot reload updates UI without recompiling